

DIY Kitchen Open Shelving
**This post is sponsored by The Jones Company and all opinions are always my own. This post contains affiliate links, and I will be compensated if you make a purchase after clicking on my links. Thank you for supporting Home With Joanie**


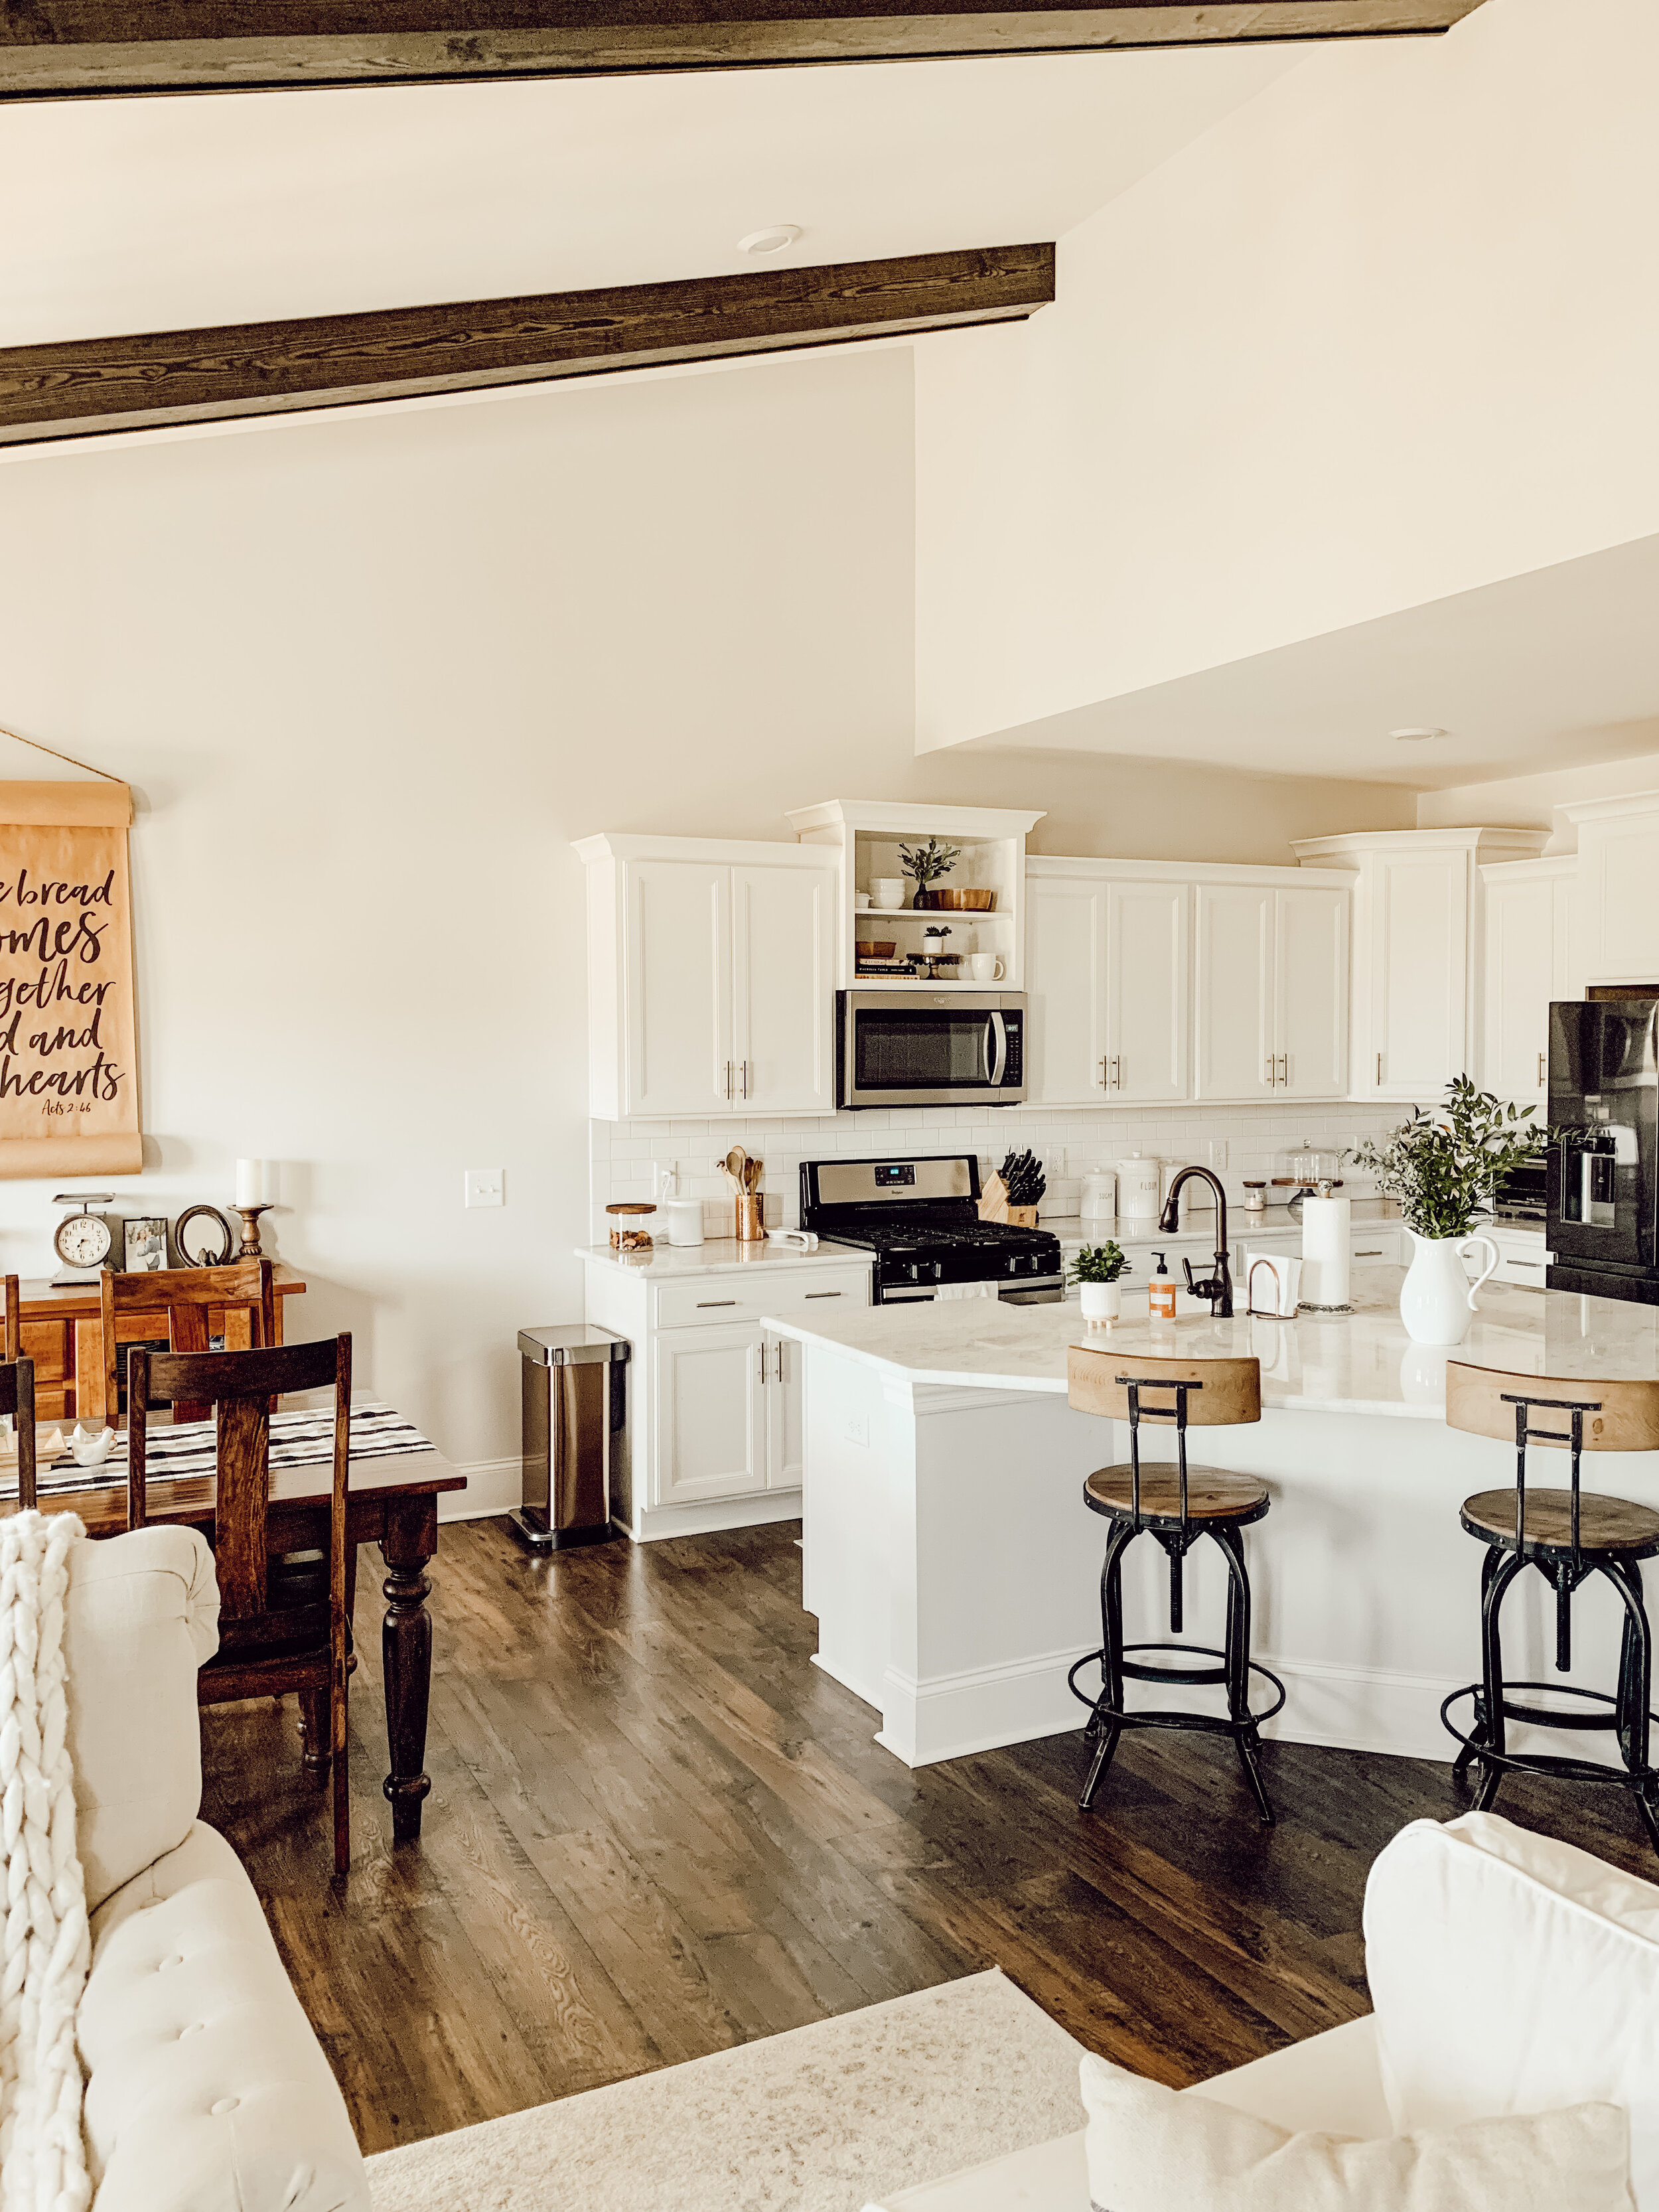
I’m so excited to have finally done my first DIY since moving into our new construction home almost a year ago. I can’t believe how fast time is flying, and that we’ve almost been in our house for an entire year! We built our home with The Jones Company, a custom builder based out of Middle Tennessee. Check out their website to see all of their available cities and neighborhoods that they’re currently building in. They made the design and building process so fun and stress-free and I loved how customizable all of their options for building are. I was truly able to choose every little detail in our home, like our farmhouse sink, wooden beams on the ceiling, and gold kitchen handles.
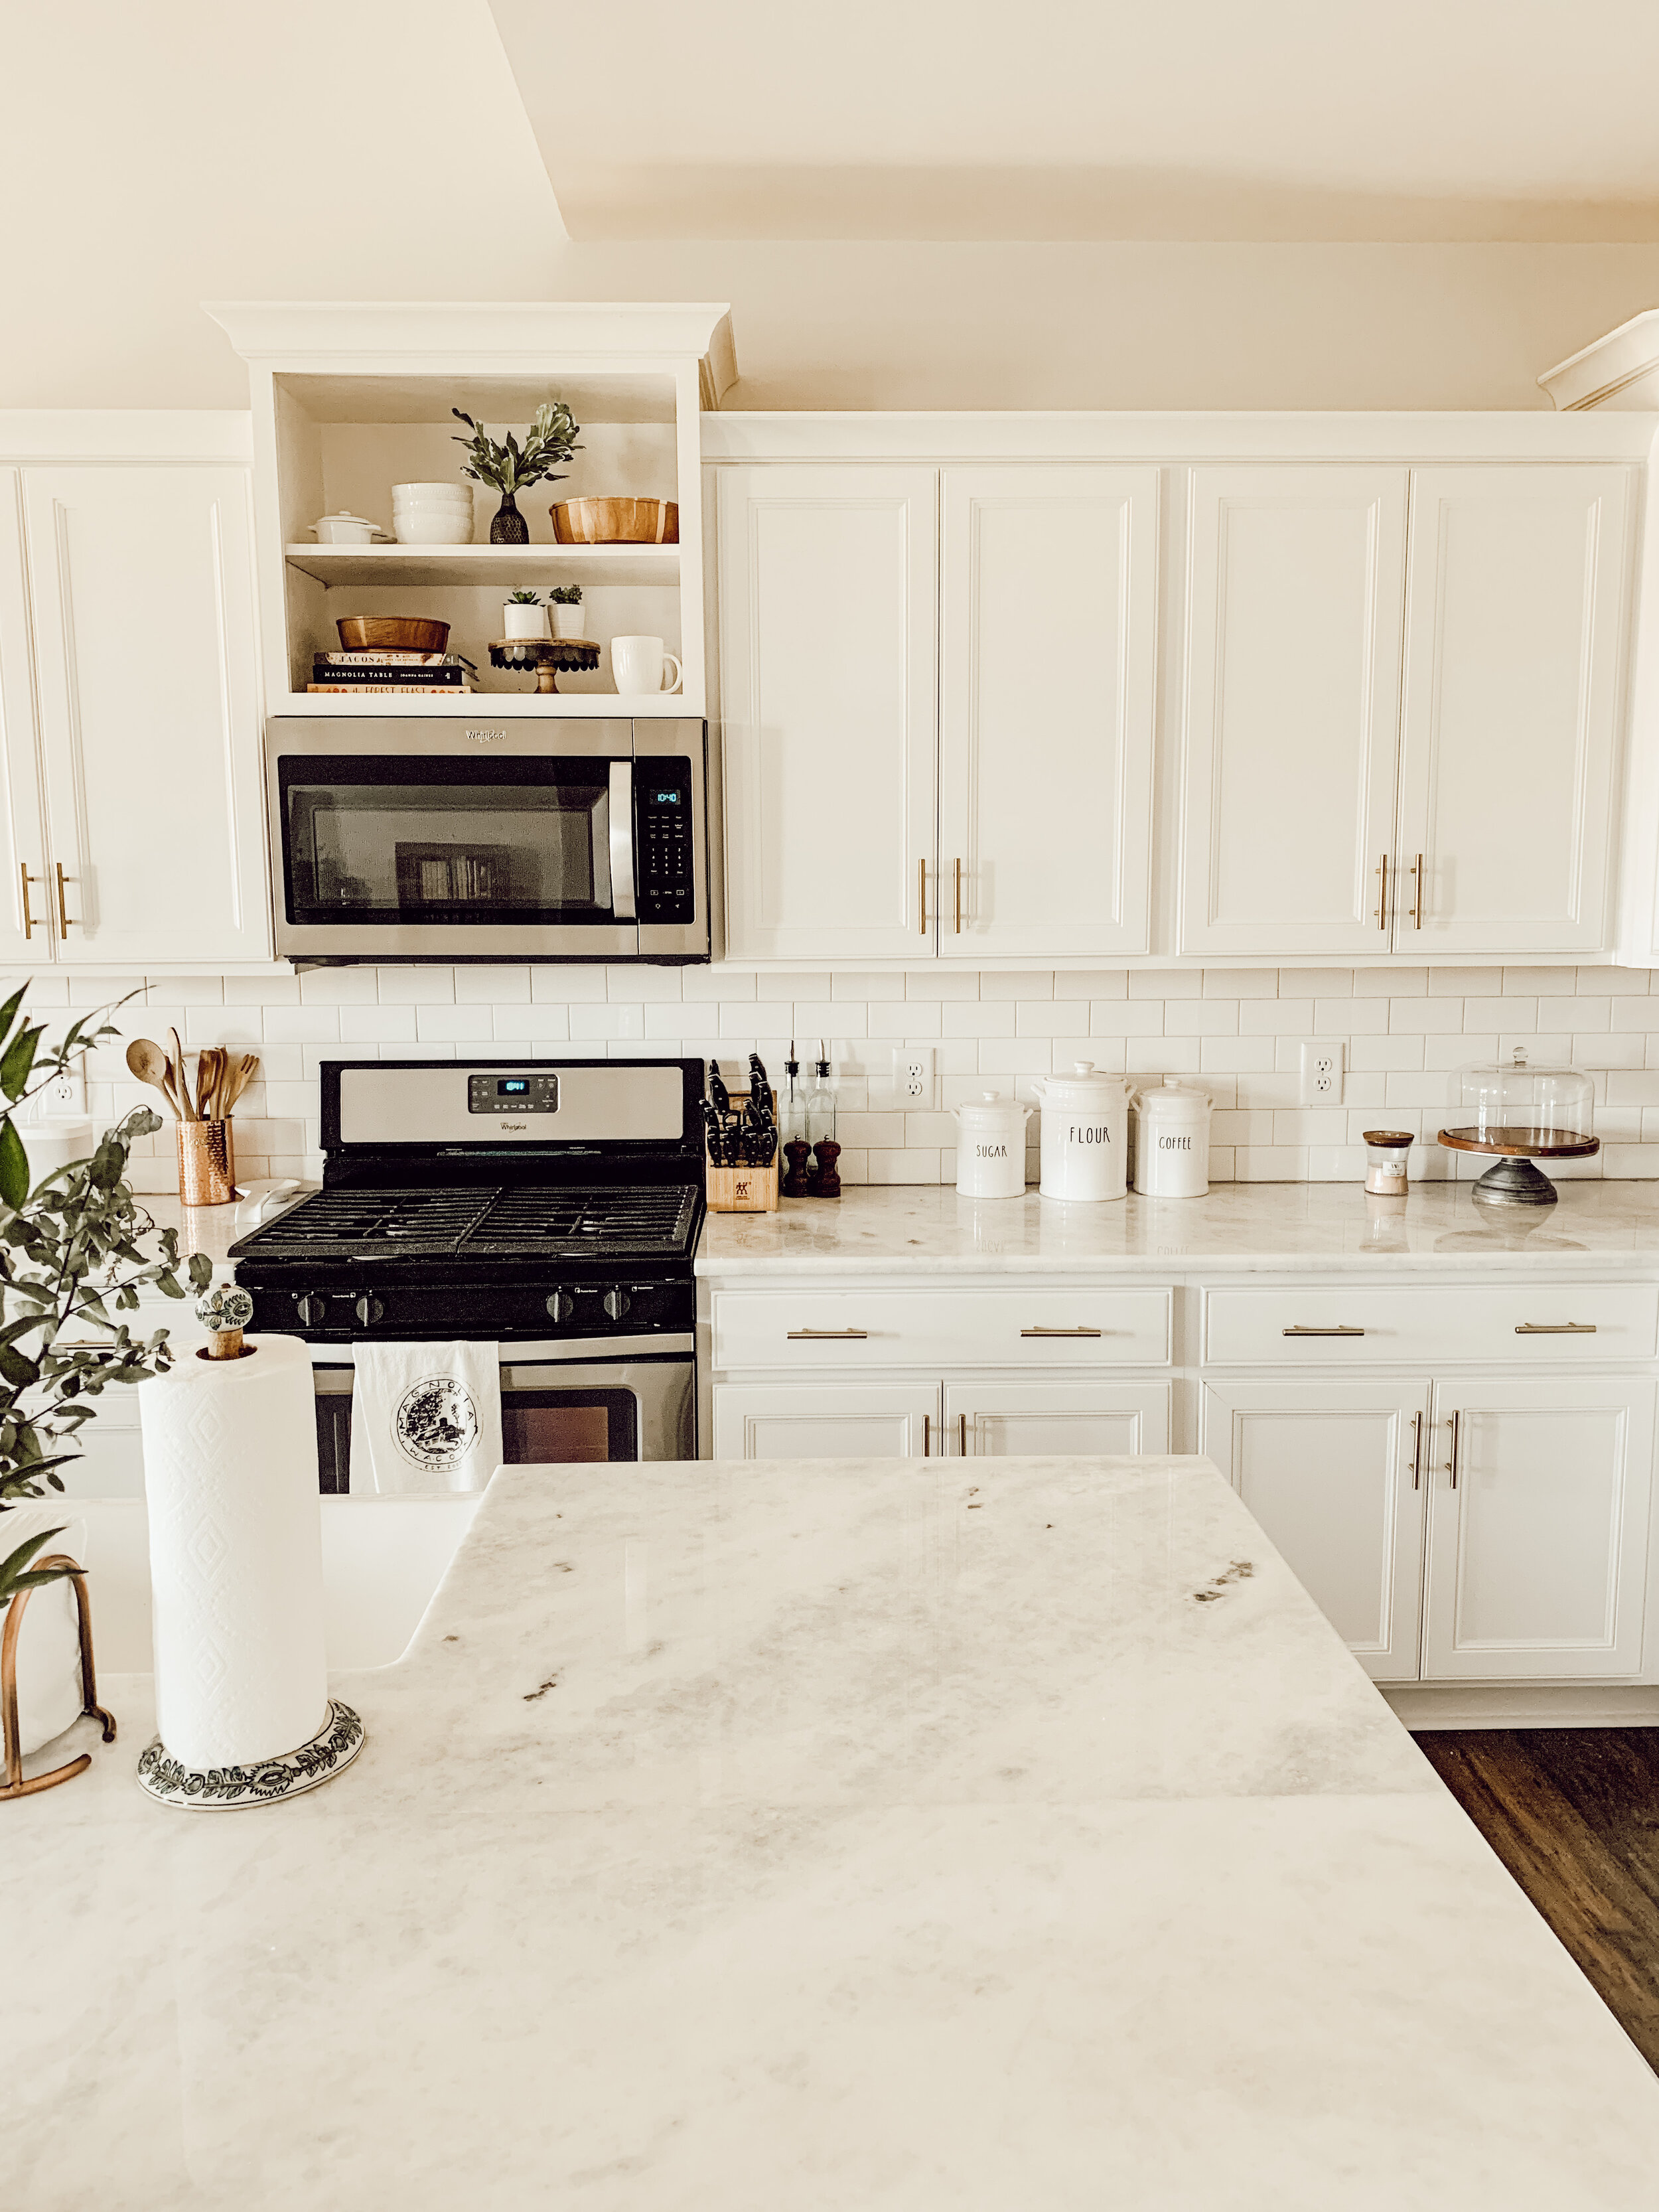
Here are a few pictures of our kitchen before removing the cabinets. There was nothing wrong with how it looked and it still looked great, but I wanted to make it more custom and add open shelves in the kitchen for a while now.


Since we’re currently quarantined at home, I thought it would the perfect time to start doing a few DIY projects around the house to make our home even more custom. First up on the list, was making open shelving in our kitchen. I was inspired on Pinterest, and decided to take off the cabinet doors above the microwave and paint them white. Then, I could use decor I had around the house to style those shelves. Y’all, the best part about this DIY is that is was 100% FREE for us to do! If you don’t have all the supplies on hand, it should still be on the low end for a DIY project.
Here are the steps for creating open shelves. You can do this with any cabinets in your kitchen!
Step 1: Remove cabinet doors. My husband did this for me and said it was super easy to do!
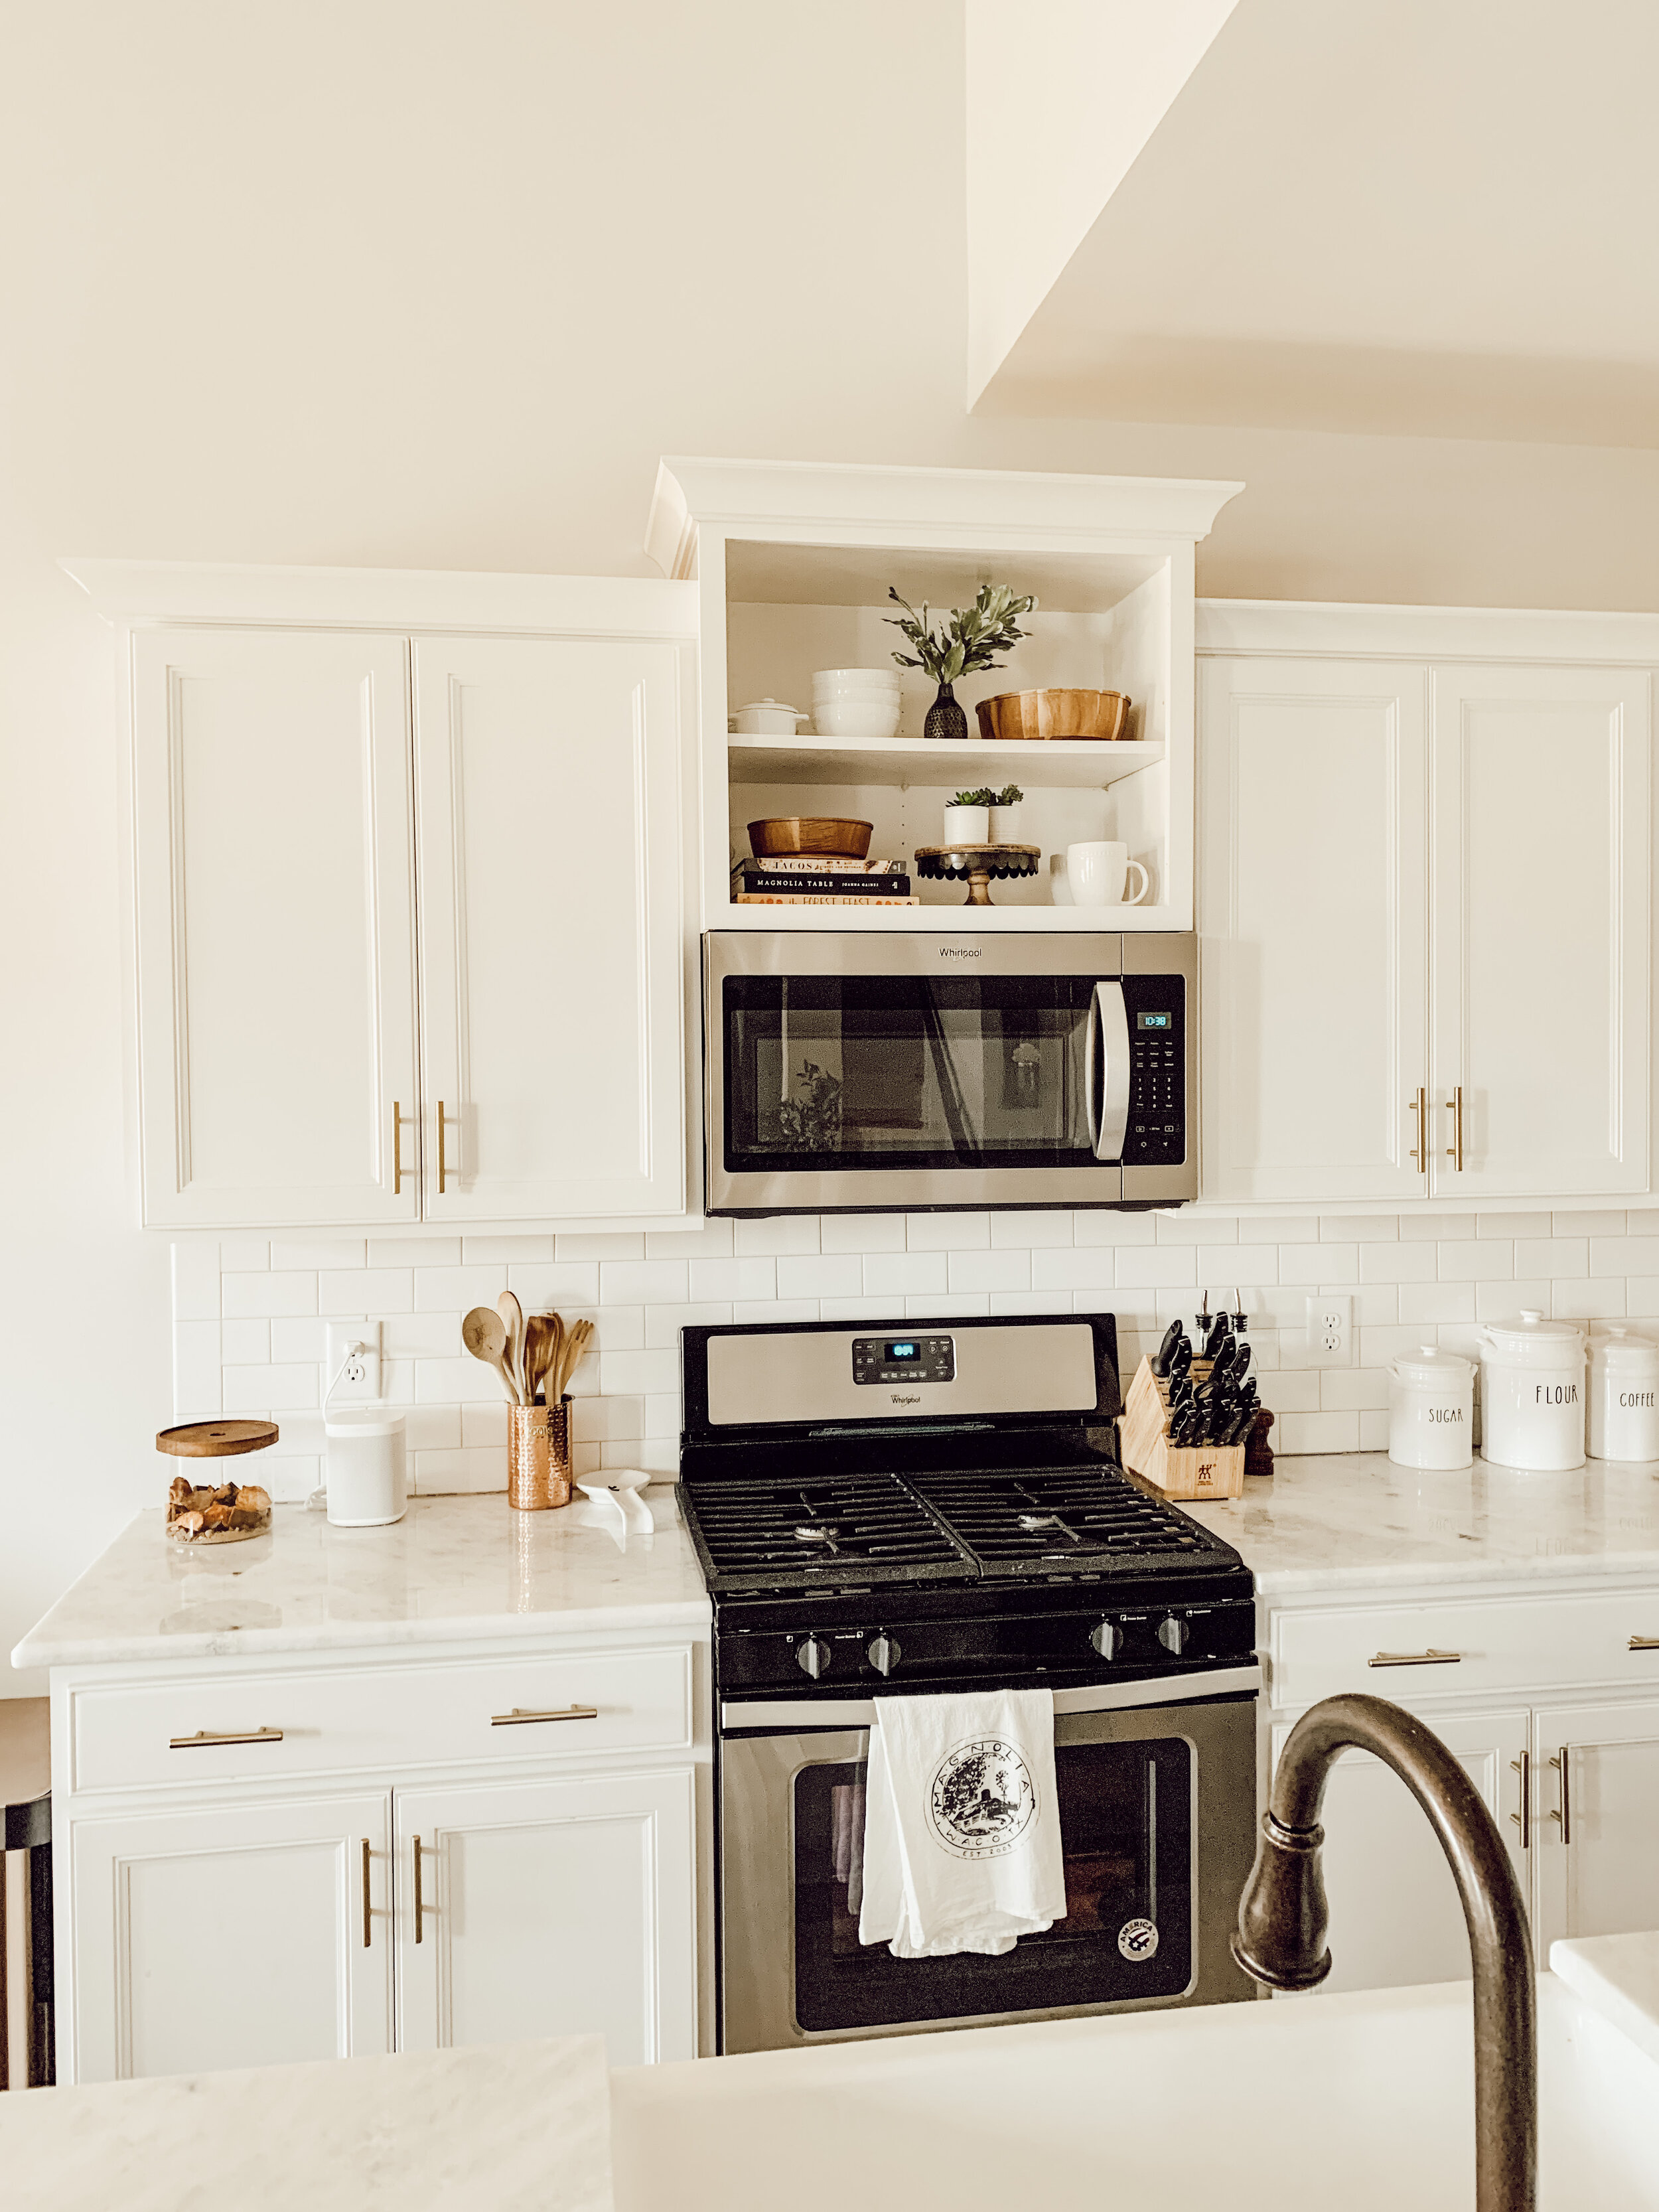
Step 2: Sand the inside of the cabinet. This way, it allows the paint to go on easier and stick better. Here’s a picture of what it looked like after being sanded down, and I styled it to figure out the placement of where I wanted my decor to go.

Step 3: Paint the inside! Luckily, The Jones Co. had left a container of white trim paint that matched the kitchen cabinets so well! I decided to use that paint for the inside of the cabinets. It took me a few hours to paint it, and it needed 3 coats of paint to be thick enough.
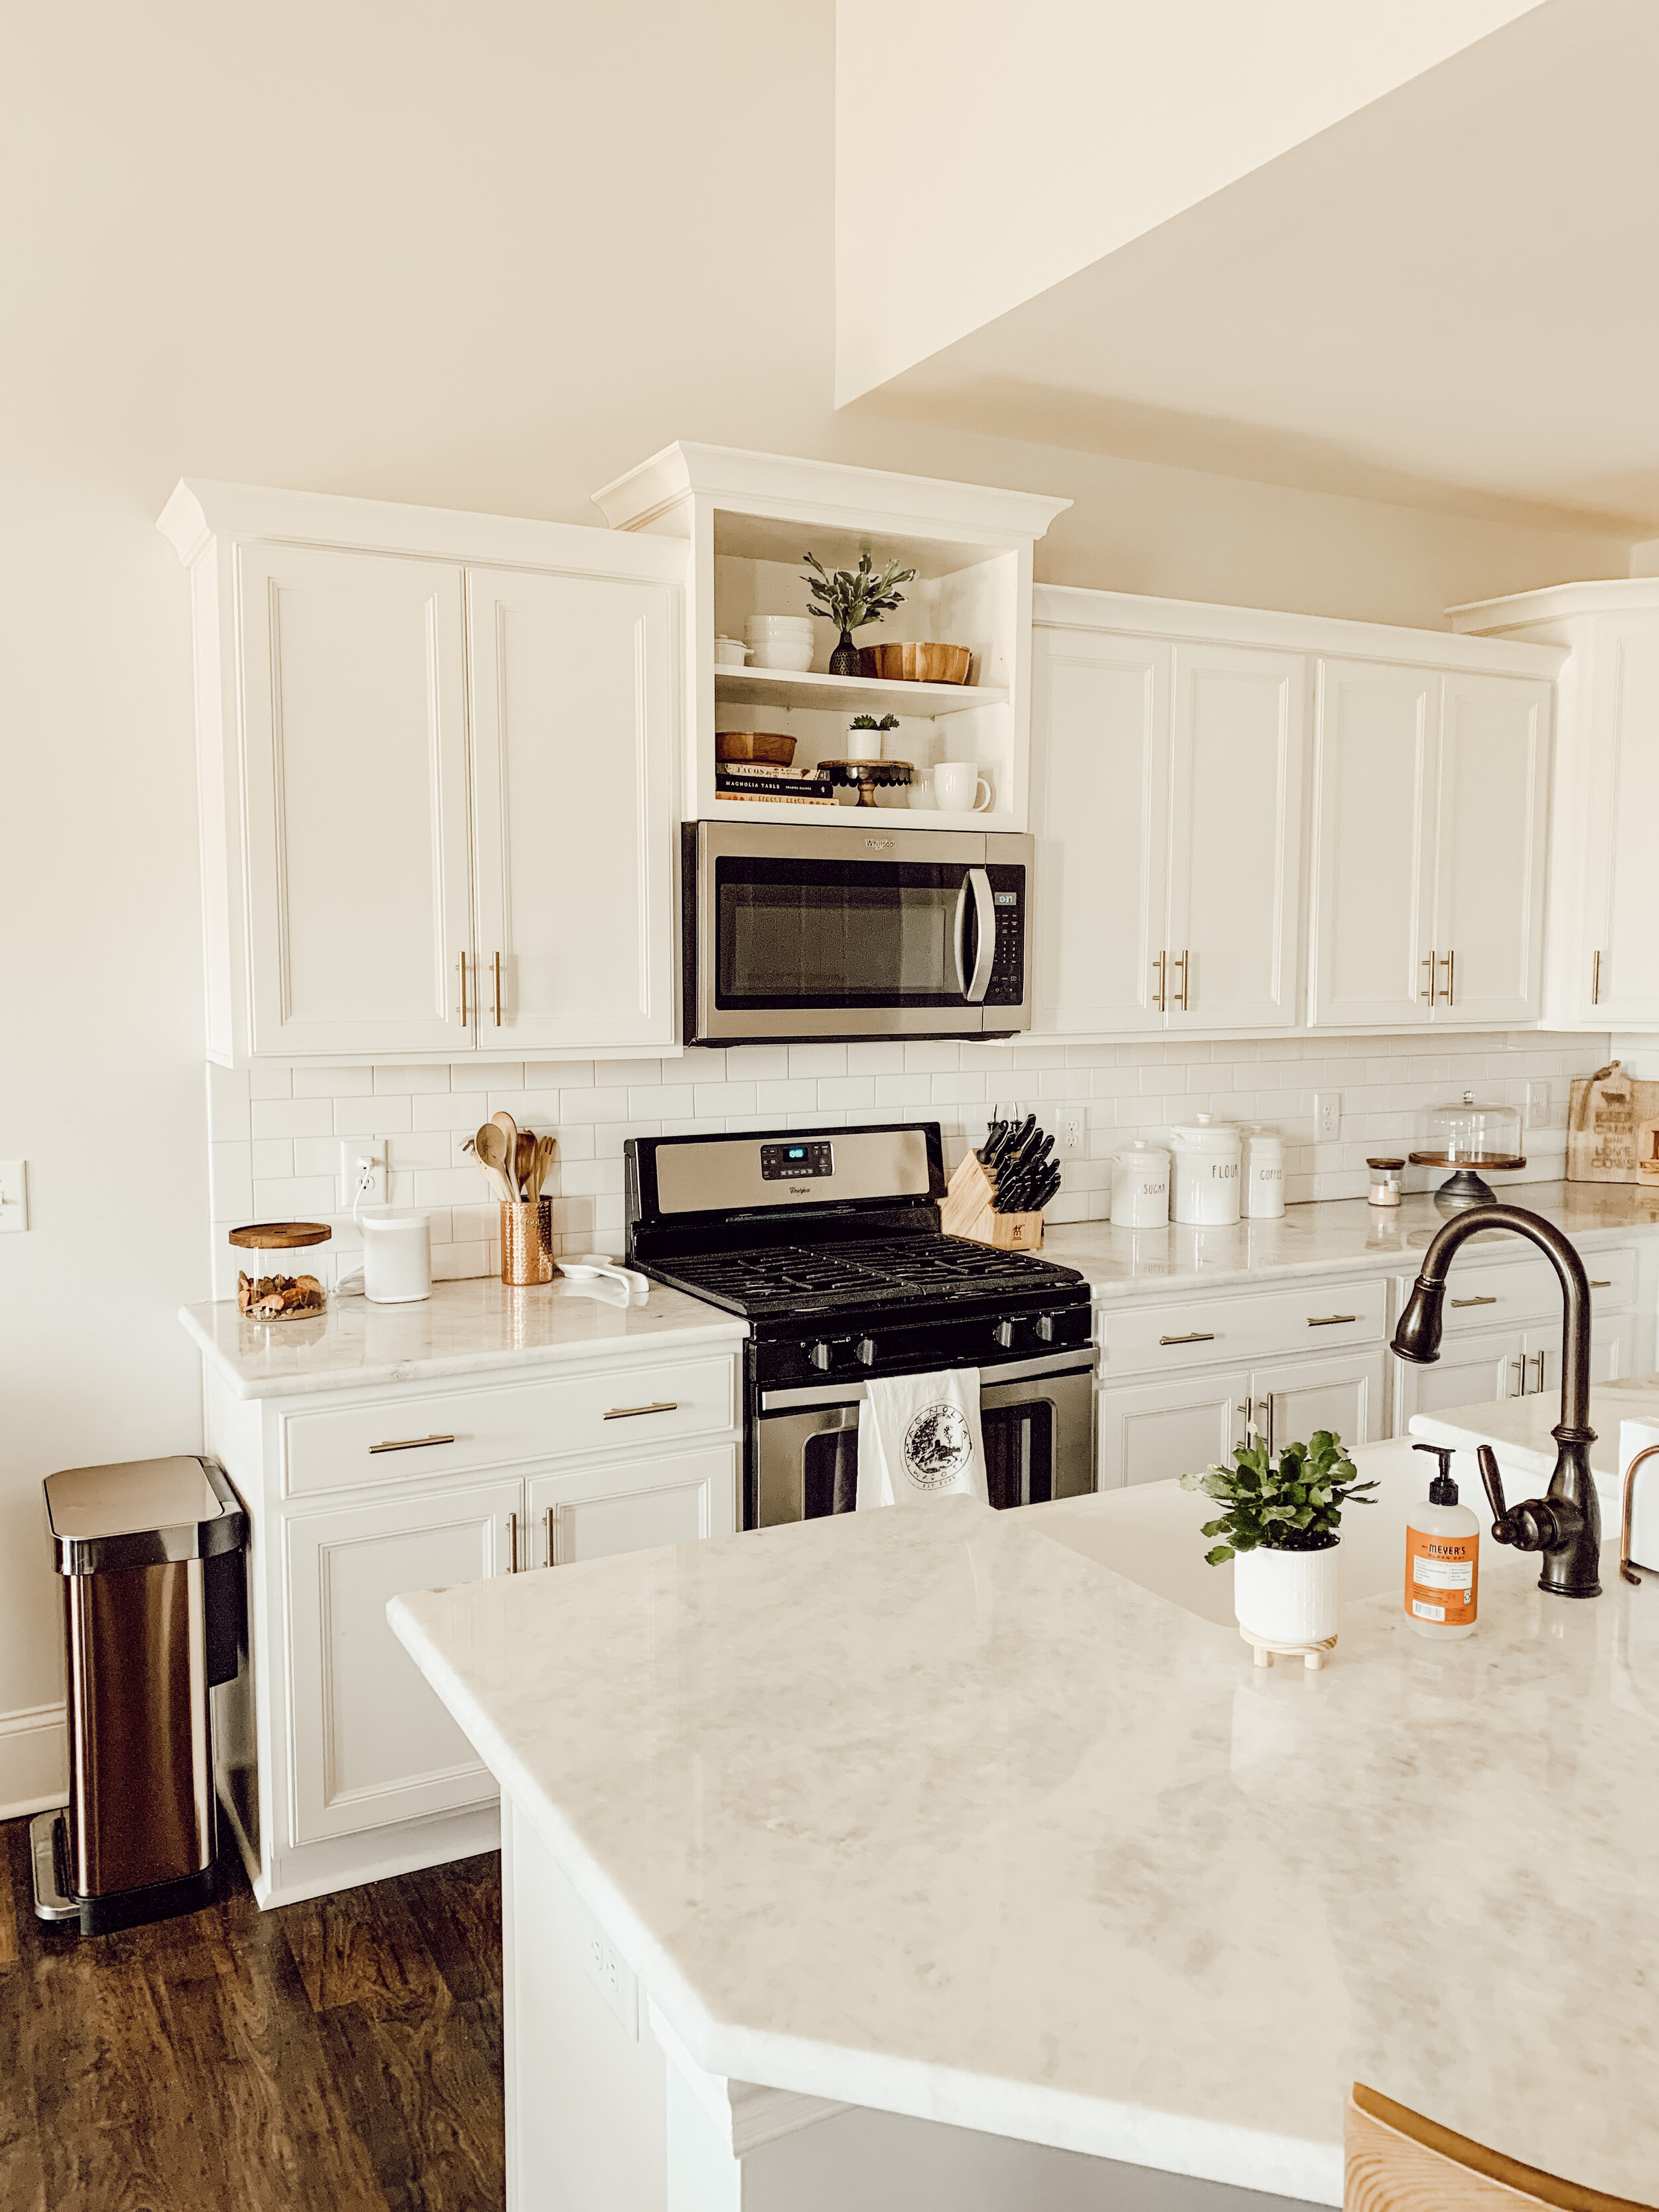
Style 4: Style the shelves! I used a few cookbooks, wooden bowls, greenery, and white kitchen accessories to style these shelves. I love how it turned out, and it totally transforms the look of the kitchen and makes it feel so open now.

That’s all there is to it! If you’ve been running out of ideas for things to do around the house, this would be such a fun and easy project to do in your kitchen to transform your space. It took me just one afternoon to do it, and I still can’t get over the transformation. I hope everyone is staying safe and hanging in there. This too shall pass! I would love to see pictures of your kitchen if you decide to do this project, so feel free to share them with me.
Shop our kitchen decor:


